 |
| miniature quilled cars |

 |
| smaller than one rupee coin |
 |
| front view |
 |
| quilled miniature candle stands |

  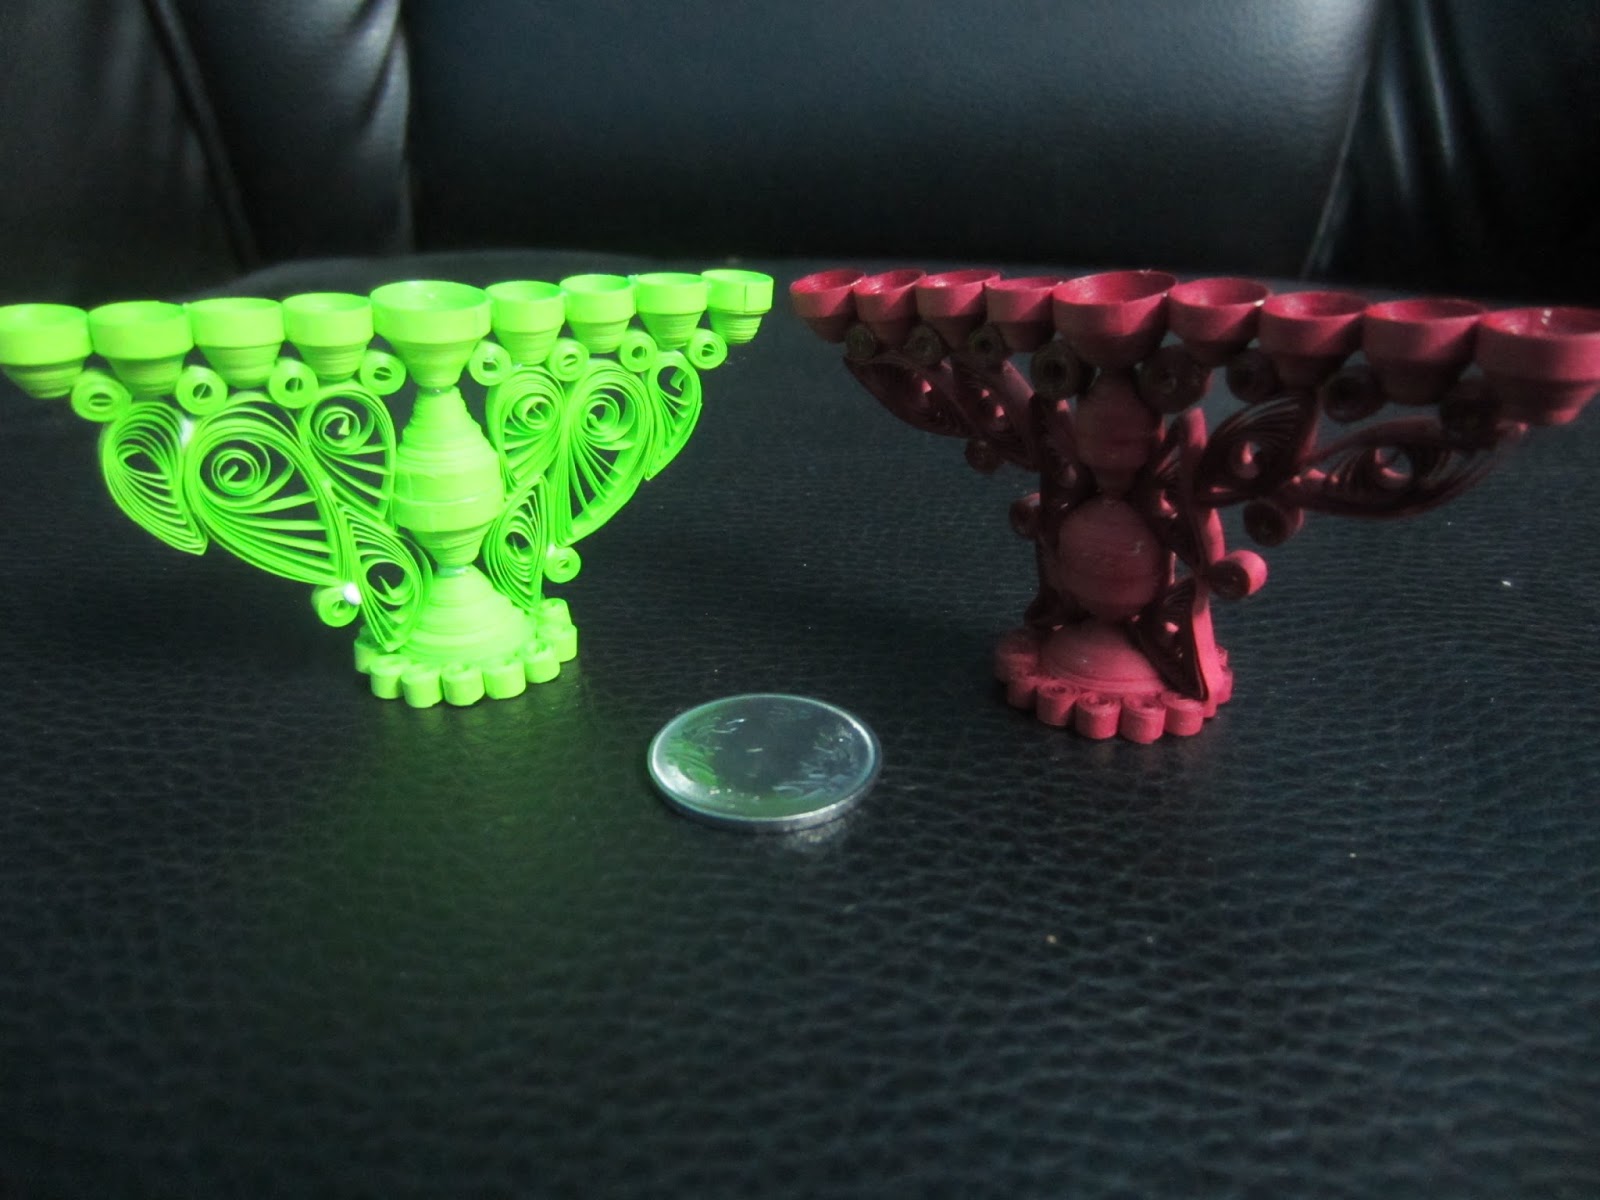 |
| abt a ht of 2 inches |
 |
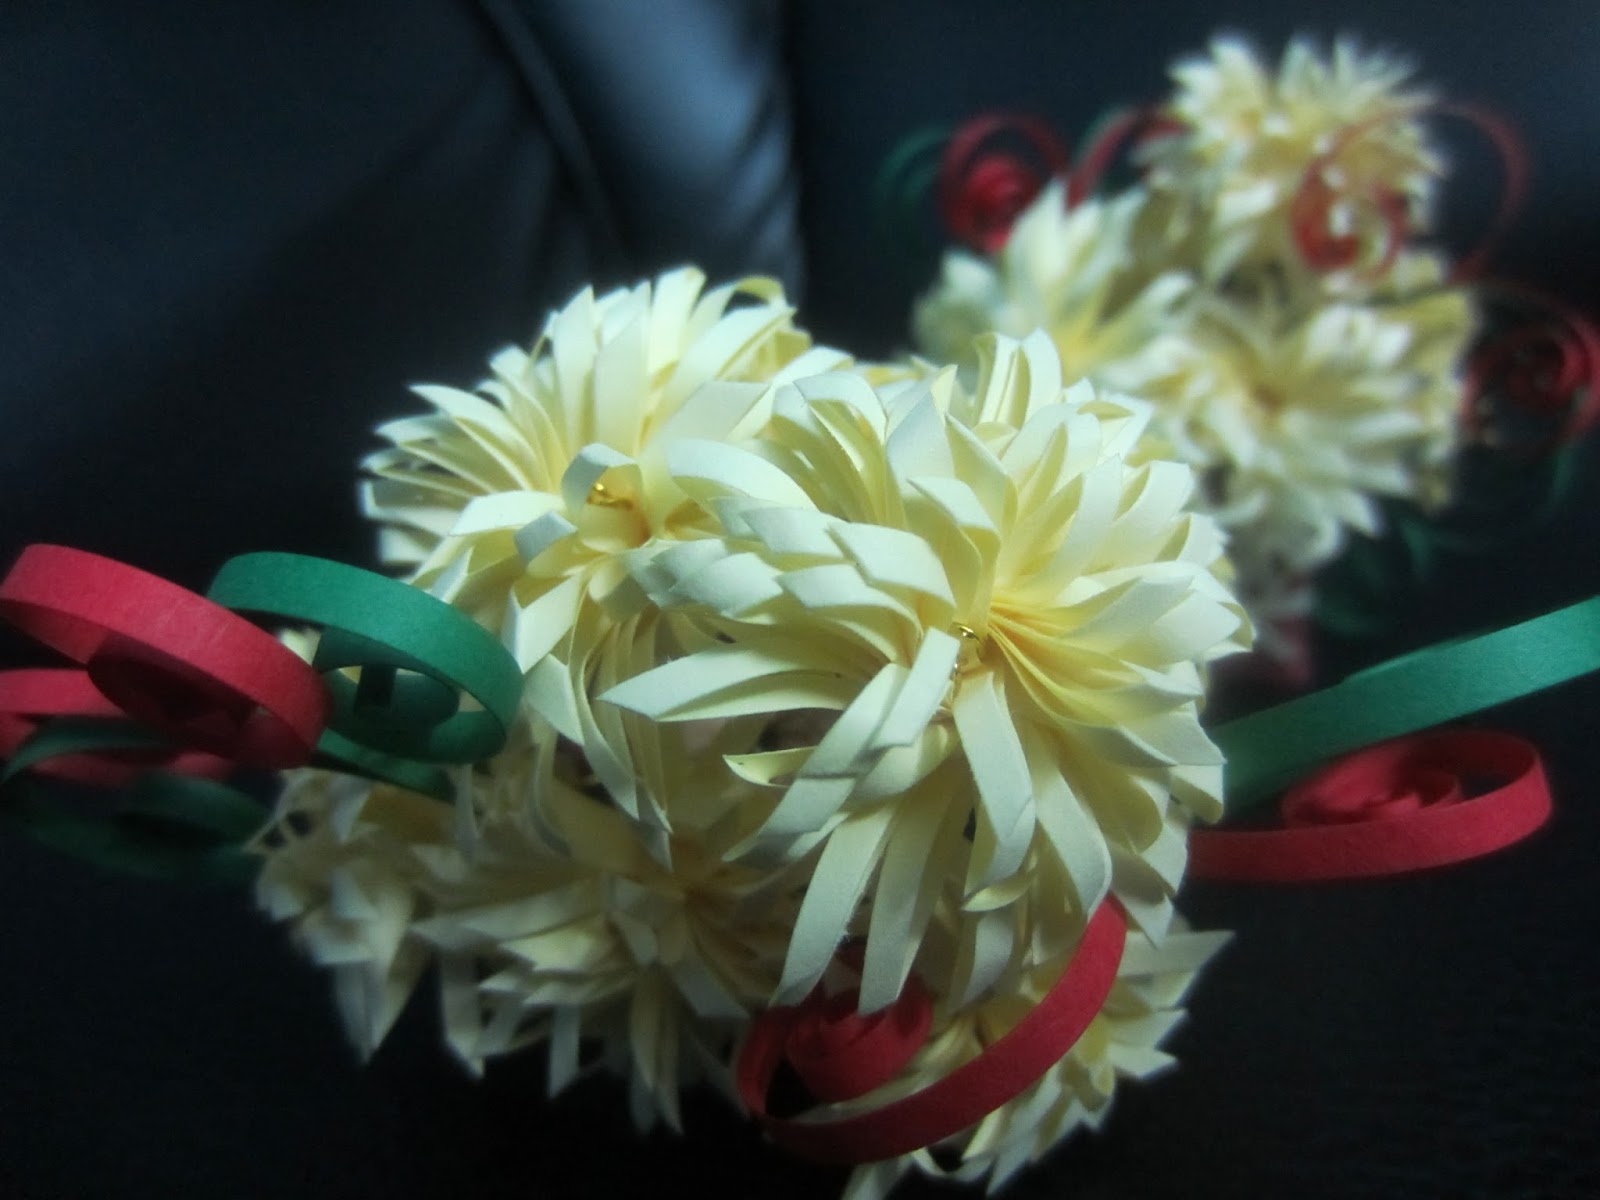
| quilled flower vases |


 |
| quilled bikes |
 |
| abt a ht just more than an inch |

 |
| quilled bike model 2 |


|
| miniature quilled cars |
|
| smaller than one rupee coin |
|
| front view |
|
| quilled miniature candle stands |
|
| abt a ht of 2 inches |
|
| quilled flower vases |
|
| quilled bikes |
|
| abt a ht just more than an inch |
|
| quilled bike model 2 |
 |
| fold around 27 green and 30 red i dint get exact colour for the stem so using red instead |
 |
| this is the basic way of arranging the triangles dont know how to fold the triangles can be seen earlier in this blog |
 |
| arrange 9 of these in each row first arrange 2 rows |
 |
| after arrangement it come like this |
 |
| connect both of the edges |
 |
| now add the third row this completes the leaves |
 |
| coming for the stem this is the fun part first arrange three pieces like this |
 |
| arrange the next 2 triangles in reverse |
 |
| add the third triangle in reverse |
 |
| add next three in regular way |
 |
| looks like this from side |
 |
| add triangles as per requirement of length three in one way next three in other way i arranged 10 rows |
 |
| finnaly attach the leaves part stabilize the entire part with glue and ur done |
 |
| loosely fold the quilling thread use as many as u need depending on the leaf size |
 |
| attach the central pieces together |
 |
| now attach other pieces down below |
 |
| add the other pieces as per requirement |
 |
| no need to be perfect even if the edges r protruding out side they vl be covered later |
 |
| finally close all pieces together using another thread |
 |
| done finally |
 |
| paper dimensions 6cms# 10 cms u can change the dimension as u like can use an A4 sheet as it is to make a single piece or we can cut up to 32 pieces for single A4 sheet |
 |
| fold it in to center single pleat fold |
 |
| fold it again in to centre |
 |
| make a triangular fold on both sides |
 |
| open the piece it will look like this |
 |
| make triangular fold on both sides |
 |
| fold the paper up |
 |
| fold it up on both sides |
 |
| fold it to centre and its done |
 |
| the completed ones looks like this on back side |


